
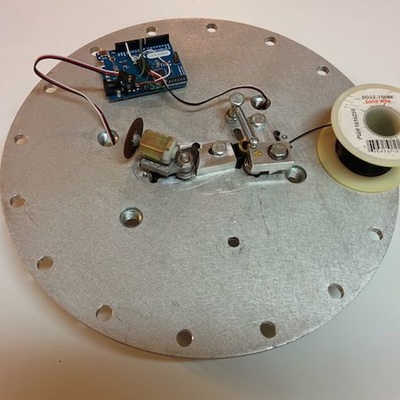
Cutting Aluminum with CNC
So after doing a few test runs and breaking a bit by going too fast, I think i found the sweet spot.
Cutting the tractor that you see in the video took less than 10 minutes. Not bad, Id say.
With a 1/8" O-flute bit I cut 0.008 on an inch per pass and went at a speed of 18 inch/min. The spindle rpm was set to a 4 on the Bosch router which is approximately 22,000 rpm.
Cutting the tractor that you see in the video took less than 10 minutes. Not bad, Id say.
With a 1/8" O-flute bit I cut 0.008 on an inch per pass and went at a speed of 18 inch/min. The spindle rpm was set to a 4 on the Bosch router which is approximately 22,000 rpm.
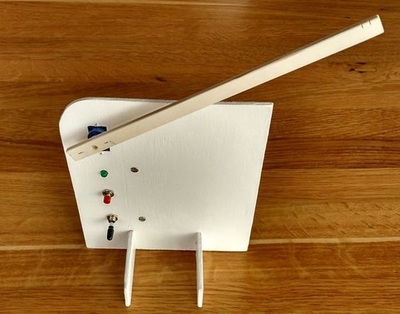
3D Printing Test Runs
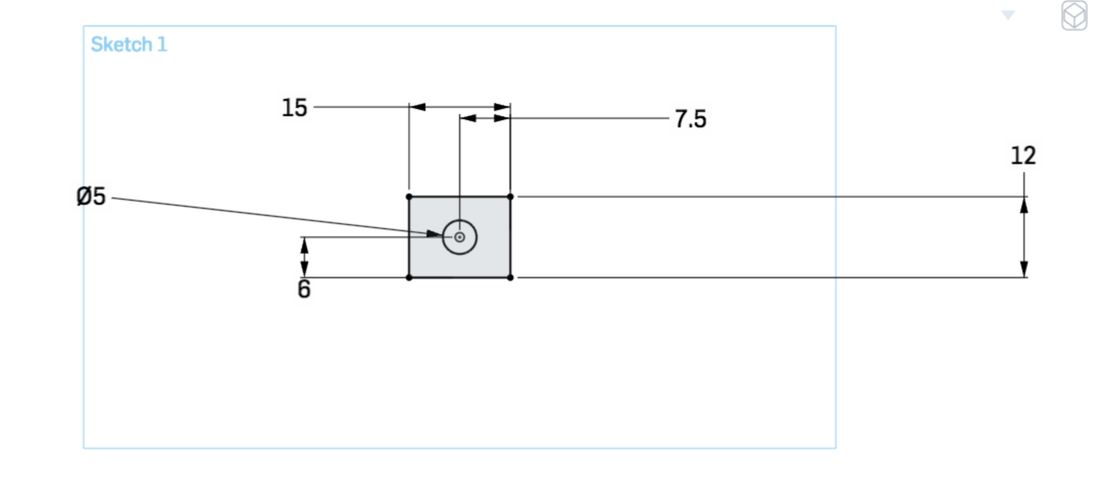
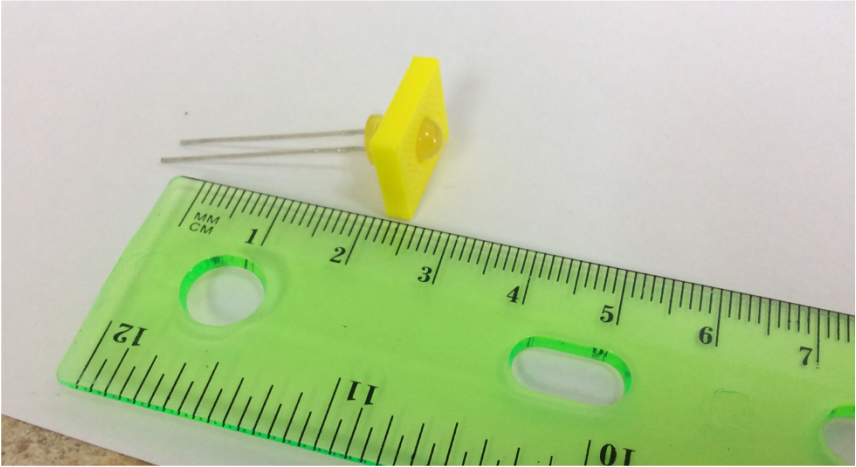
I did a few test runs. I drew a part in Onshape with a 5mm hole and printed it to see what size the hole would be.
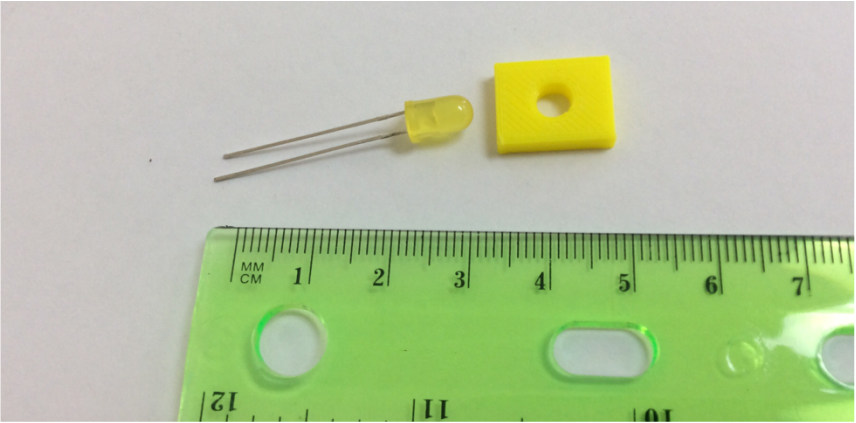
The picture above shows you the issue with printing or leaving an exact dimensional hole. This hole was supposed to be 5mm in diameter but when I measured it after I printed it it turned out to be 4.37mm. That means, the 5mm LED will not fit into that hole.
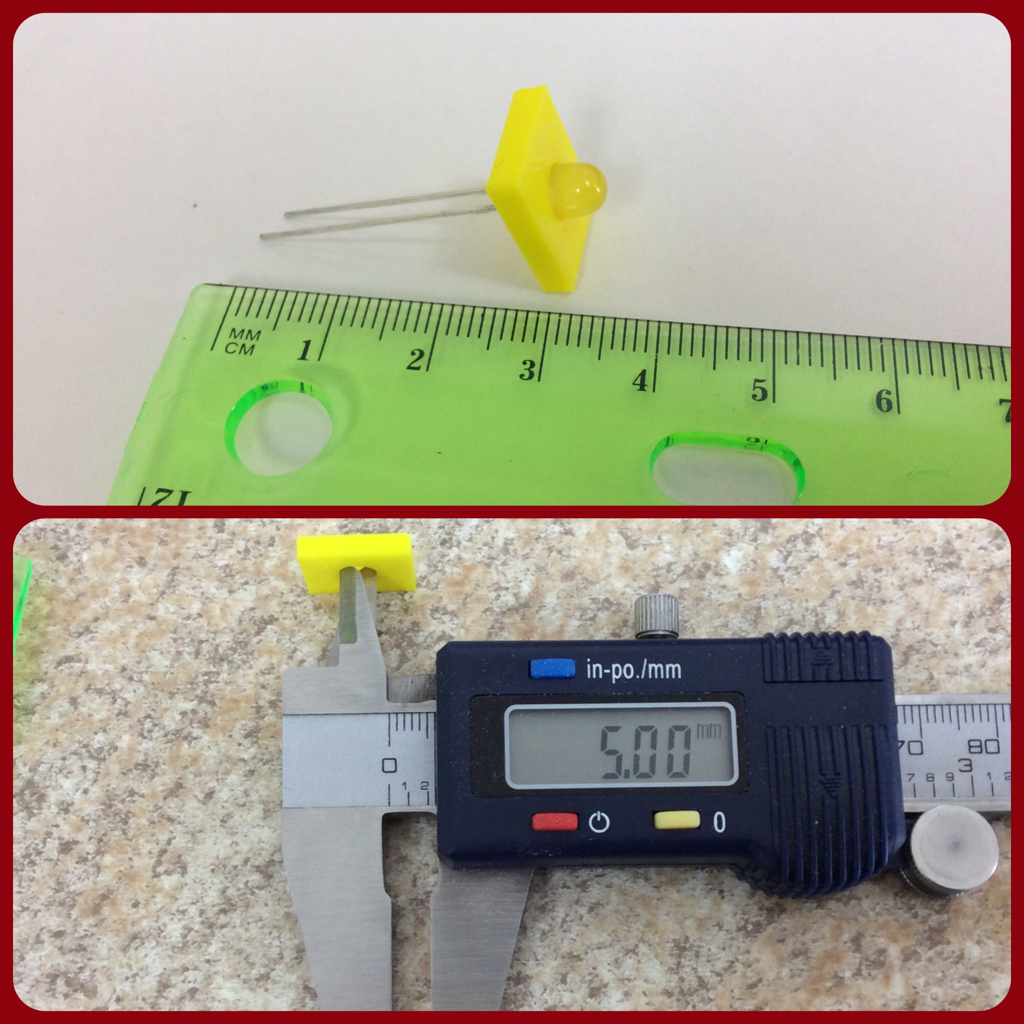
This hole was drawn at 5.5 mm and it fit perfectly. I measured it with a calliper and it was exactly 5mm in circumference.
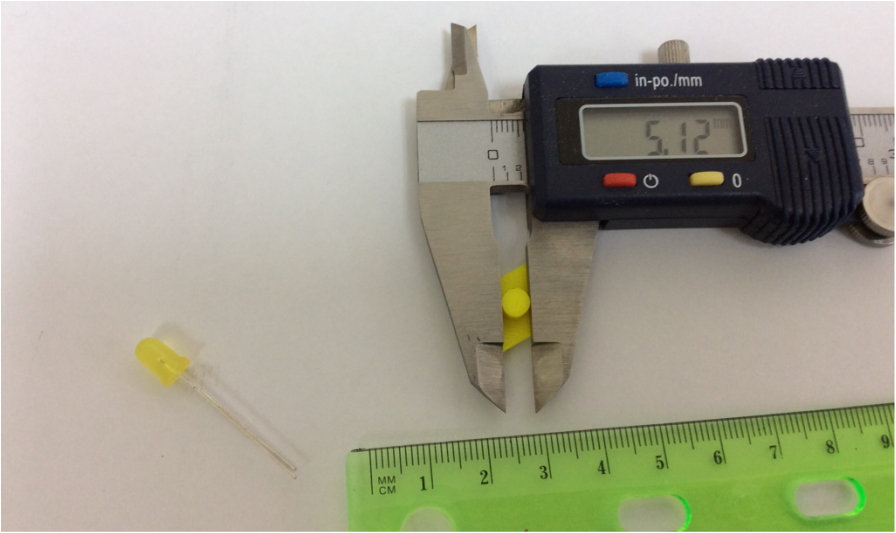
This hole was drawn to be 5.7mm and it was too big. It was ok but it was just too loose. If it is too loose that means I would have to glue the led into the hole.

Pin Test Runs
This pin was draw at 5mm in Onshape. I could have crammed it into the hole but it would not be a nice fit.
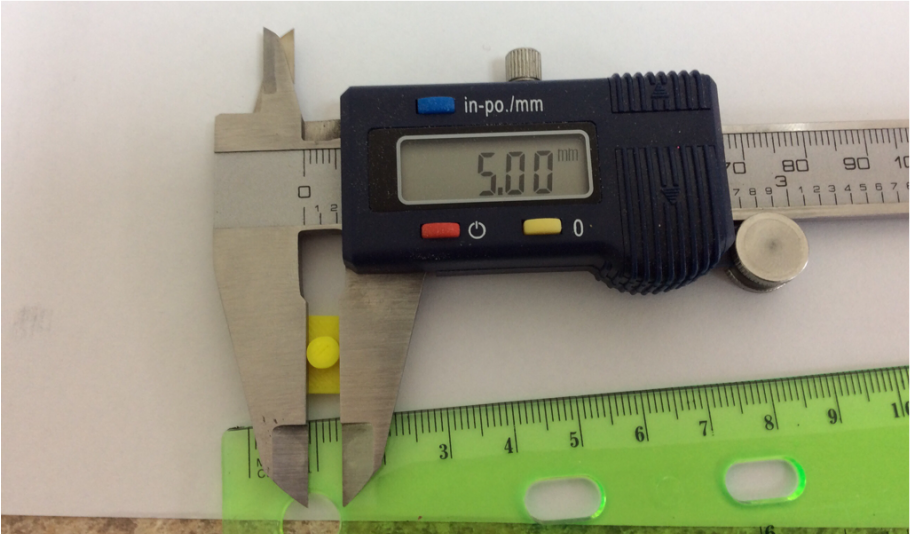
Pin was drawn to to be 4.9mm. It resulted in a pin that was 5mm in circumference. In reality I would probably draw it to be 4.85mm and it would be a nice pin for a 5 mm hole.
